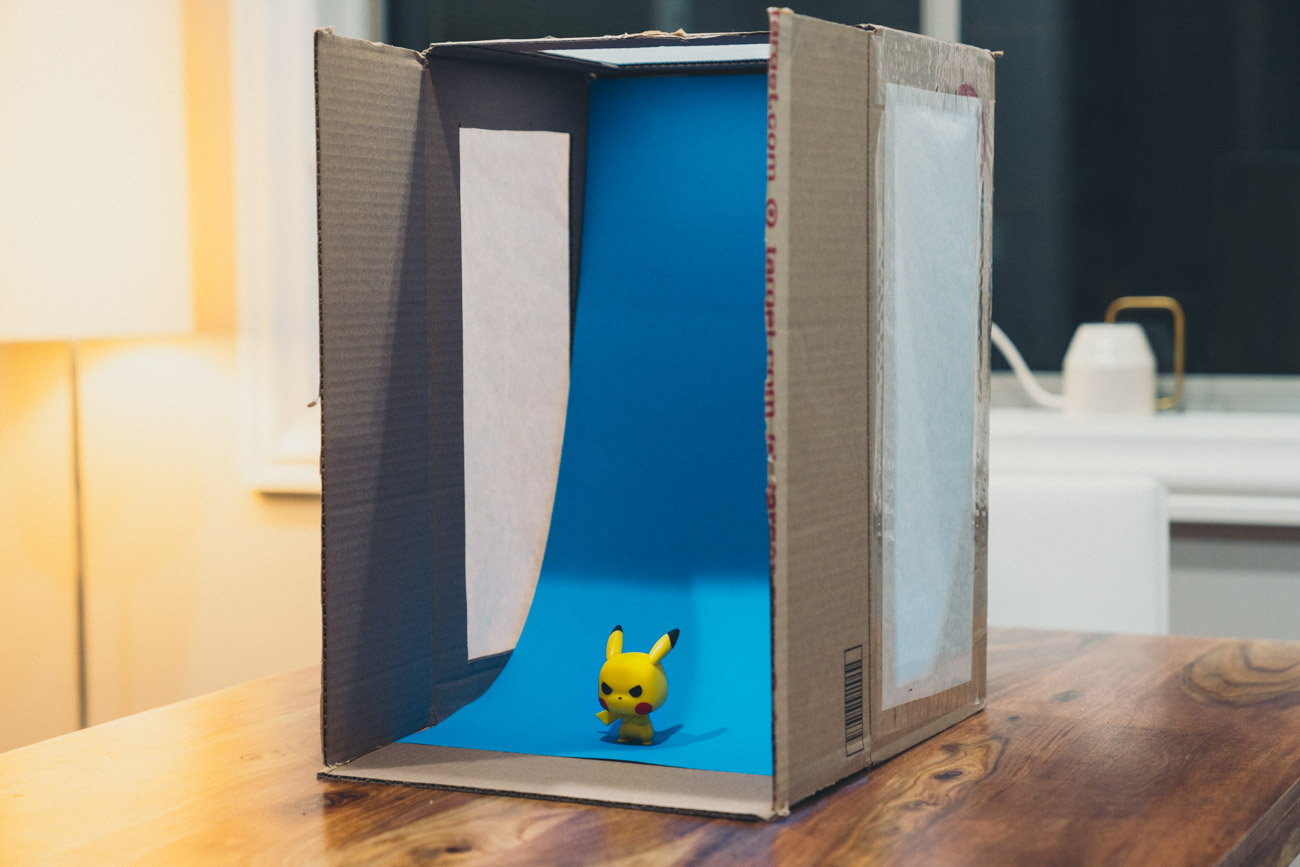
Crafting your own lightbox is extremely easy to do and is a great way to save money while upping your product photography game. What makes this lightbox design unique is its use of 3M Command Strips which makes it much easier to interchange backdrops when you’re in the middle of a photo shoot.
In total, it’ll take about 1 hour to make this lightbox depending on how crafty you are and how many backdrops you create:)
Because of this interchangeability, it’s not the cheapest design. However, taking this extra step, it’ll save you time in the long run. If you want to see what this lightbox is capable of, make sure to take a look at the product photos I took at the end of this article!
Materials Needed
- Cardboard box. Find a size that’ll work with the products you’ll be taking photos of.
- Parchment paper
- White posterboard and any other colors or designs that you want as a backdrop
- Ruler
- Xacto knife
- Packing tape
- Medium 3M Command Strips for changing the backdrop

Steps to Make the Lightbox
1. Find a Cardboard Box
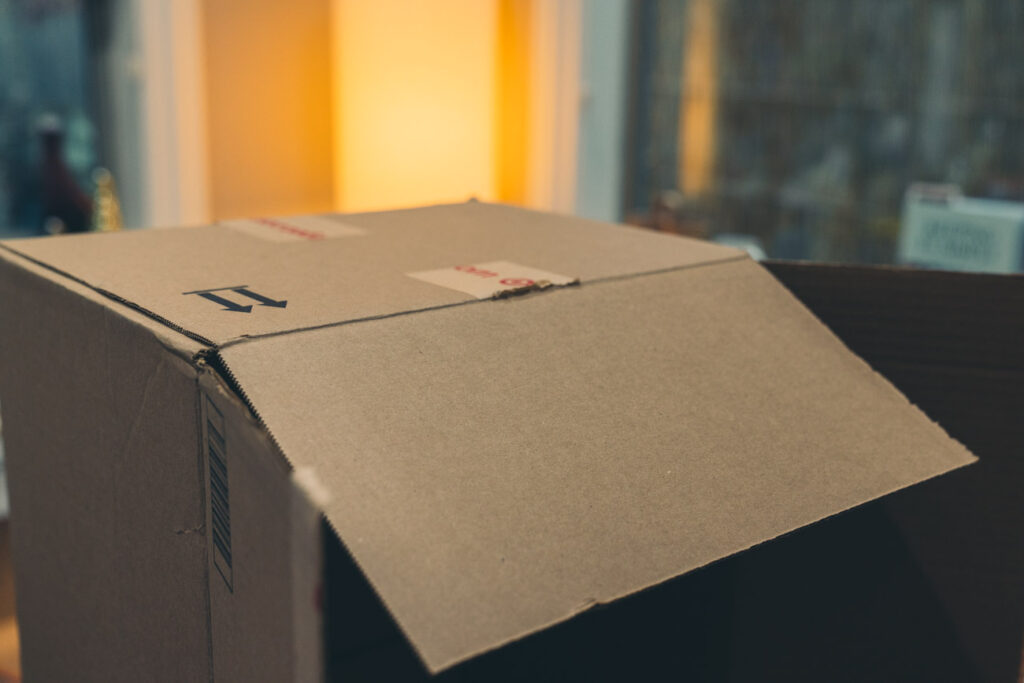
The perfect sized box will be one that can fit all the different objects you’ll be shooting. If you’re using a square box, you can position it in any direction. However, if you’re using a rectangle box, you’ll want to position it so the long side is vertical. This will allow you to put longer objects in the box.
2. Remove the Top Flap

On the side with the box opening, open up all the flaps and then remove the top flap. You can either bend it backward and tape it down or remove it altogether.
In this lightbox design, I chose to keep the 2 side flaps to block light (when needed) and the bottom flap for additional stabilization.
3. Measure and Cut Out the Windows


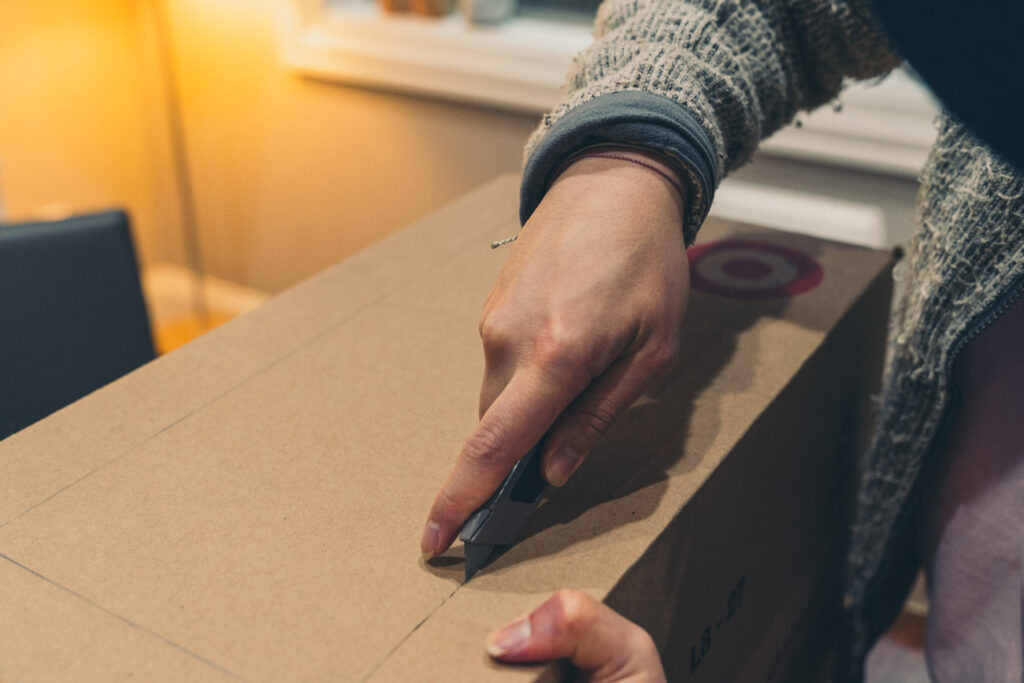
Now it’s time to cut out the windows where the light will shine through. In total, we will be cutting out 3 different windows, 1 window on each side of the box, and a top window.
Each side of the window will be 2 inches from the edge of the box. This will allow the structure of the box to remain stable even after cutting out the windows. Take a ruler and mark out the four corners of each window making sure they are 2 inches from the edge of the box.
Now use these marks as reference points for drawing the window. Take a ruler and connect the reference points with a line to create your window making sure the lines of the rectangle are as straight as possible.
Once your windows are drawn use an Exacto knife to cut out the top window before moving to the left and right windows. I like to cut out the top window as the box’s structure is stronger when the side windows haven’t been cut out yet.
Notes From The Field: I like to cut 3 different windows as this will allow more light to flow in, especially if you’re working with natural light. More importantly, this will also allow you to light up the box with just a single light source from above instead of using 1 light on each side of the box.
4. Measure and Cut the Poster Board for the Backdrop
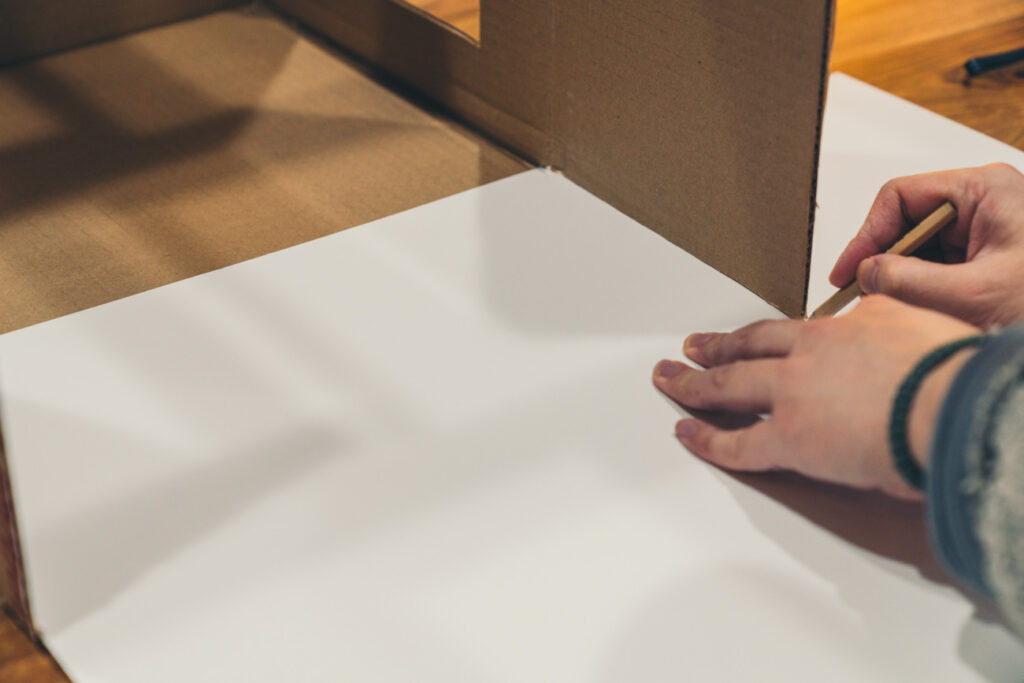
Measure out the poster board so that the width of the poster board fits inside the box. If the poster board is too wide, use a ruler to cut it down to fit. Make sure the poster board is long enough so it drapes downward and has a slight curve where the poster board touches the box. This curve will create the illusion of an infinite background.
Notes From The Field: Have fun with the backdrop! The white backdrop is the classic color to go with. However, you can go with a simulated material backdrop (such as wood or concrete) or a backdrop of another color as I have done.
5. Attach the 3M Command Strips (Optional but Highly Recommended)

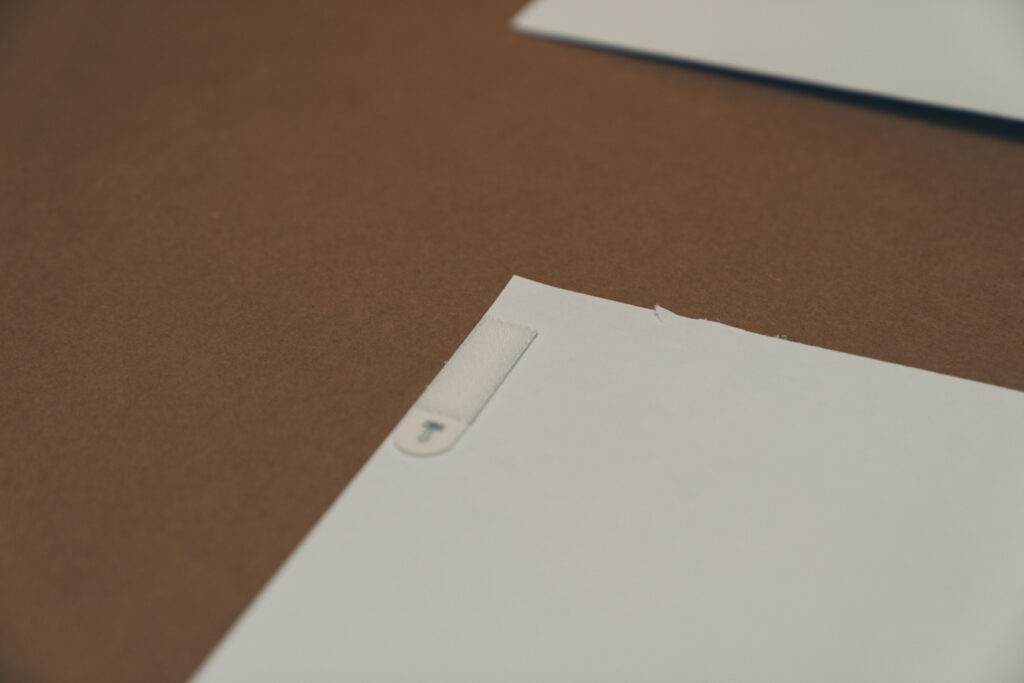

In total, you will be using 2 Command Strips on the inside of the box and 2 Command Strips on each backdrop you use.
Inside the Box: On the inside top edge of the box, measure 1 inch from the left and right edge and mark it with a pencil. Stick the 3M Command strip so that the edge of the Command Strip is touching the line that you just drew making each Command Strip 1 inch from the edge of the box.
Backside of each Backdrop: Do the same on the backside of each backdrop you’ll be using. Measure 1 inch from the left and right edge of the backdrop and mark it with a pencil. Stick the 3M Command strip so that each Command Strip is 1 inch from the edge of the backdrop.
Notes From The Field: If you don’t want to spend the extra money on 3M Command Strips, you don’t have to. You can also easily just tape your backdrop into place.
6. Cover the Windows

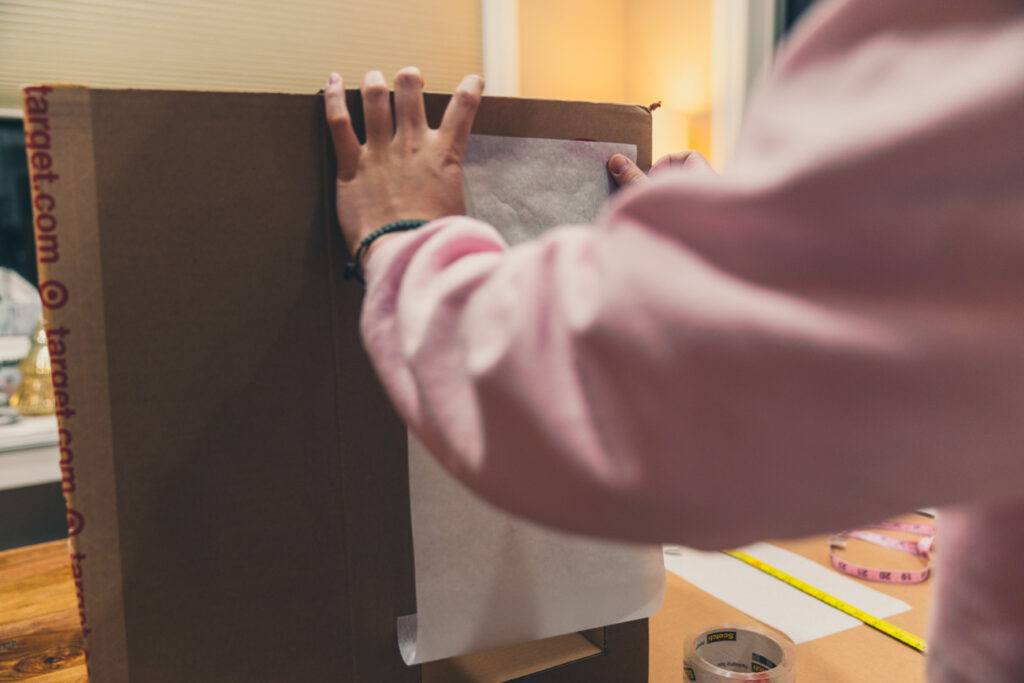
Measure out parchment paper so that it’s slightly larger than the size of the window. If you have a bigger box you might need to tape together the parchment paper to make a piece large enough to cover the opening of each window. Once it’s measured out, cover each of the 3 windows and tape it down with packing tape. Make sure the paper lays flat and there are no overlapping sections as this will allow light to pass evenly into the box.
Notes From The Field: If you don’t have parchment paper on hand, you can also use tissue paper to cover the windows. I chose to use parchment paper as its sturdier and easier to work with.
Nice Work! You’re All Done!

Now all you have to do is light your lightbox. Since this lightbox has a top window and two sides, one of the easiest ways to evenly distribute light throughout the box is to use a single overhead light.
If you need even more light, you can also use 3 lights total, 1 overhead light, and 1 light on each side of the lightbox.
Notes From The Field: If you’re placing lights on each side of the box, you can use the two side box flaps to block the extra light emitted from the lamps.
Example Photos Using Lightbox
Example 1 – Pikachu

Camera Settings
- Focal Length: 49mm
- Aperture: f/2.8
- Shutter Speed: 1/160
- ISO: 250
Example 2 – Kiiroitori

Camera Settings
- Focal Length: 41mm
- Aperture: f/2.8
- Shutter Speed: 1/160
- ISO: 250
Example 3 – Nintendo Game and Watch
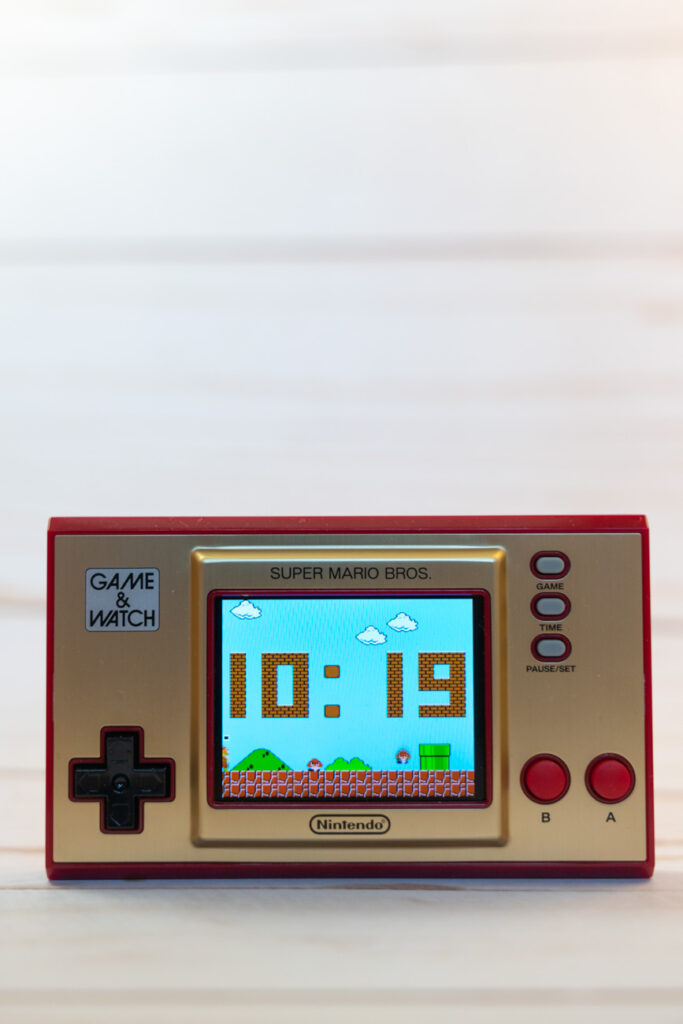
Camera Settings
- Focal Length: 44mm
- Aperture: f/2.8
- Shutter Speed: 1/160
- ISO: 200
Example 4 – Sushi the Dog

Camera Settings
- Focal Length: 34mm
- Aperture: f/2.8
- Shutter Speed: 1/160
- ISO: 400
Example 5 – Air Plant
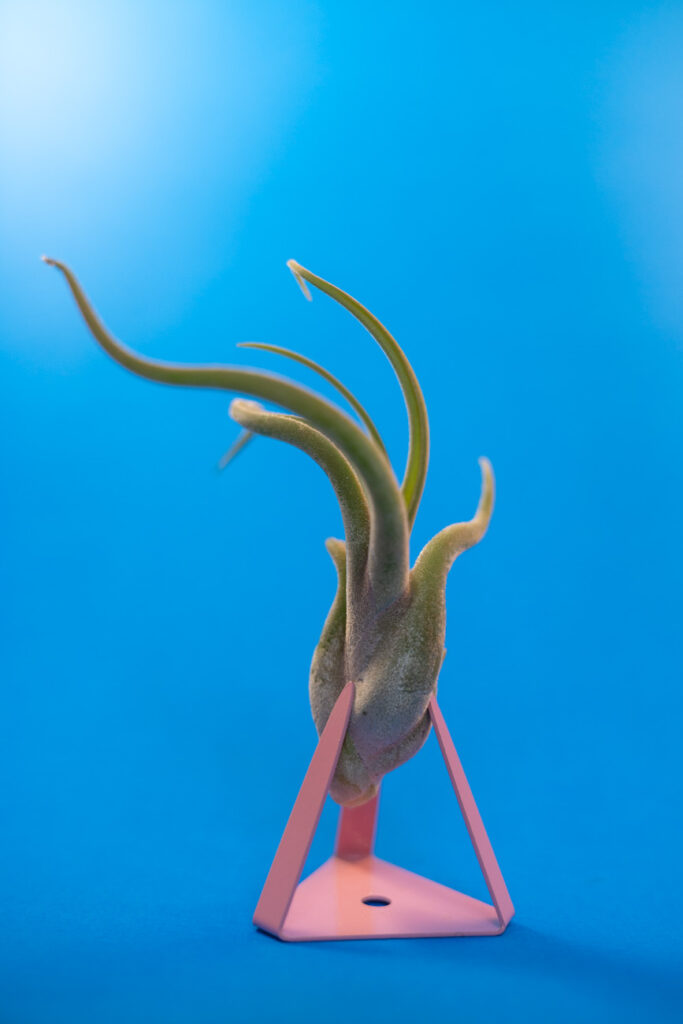
Camera Settings
- Focal Length: 40mm
- Aperture: f/2.8
- Shutter Speed: 1/160
- ISO: 400
Example 6 – Nikon Vintage Lens

Camera Settings
- Focal Length: 43mm
- Aperture: f/2.8
- Shutter Speed: 1/160
- ISO: 640
Final Tips
- Take your time when measuring the windows. Straighter lines and a better cut window will allow light to flow in more evenly.
- When cutting out the windows, cut out the top window first before moving to the windows on the left and right side of the box.
- Parchment paper is a nice choice to cover the windows as it’s sturdier and easier to work with.
- It’s well worth the extra effort to use 3M Command Strips as it makes it much easier to change out your backdrops.
- Cover the windows of the lightbox last. This will make it easier to install the backdrop.
- When taping on the windows I found it easier if I first stuck the tape on the top edge of the parchment paper.

