
I’ve been using the Sony a7RIII professionally for over two years now.
The main reason why I decided to go with this camera is that I wanted the extra resolution for photos. Plus, I also do video work, so I needed a camera that could handle both in all situations including low light shooting.
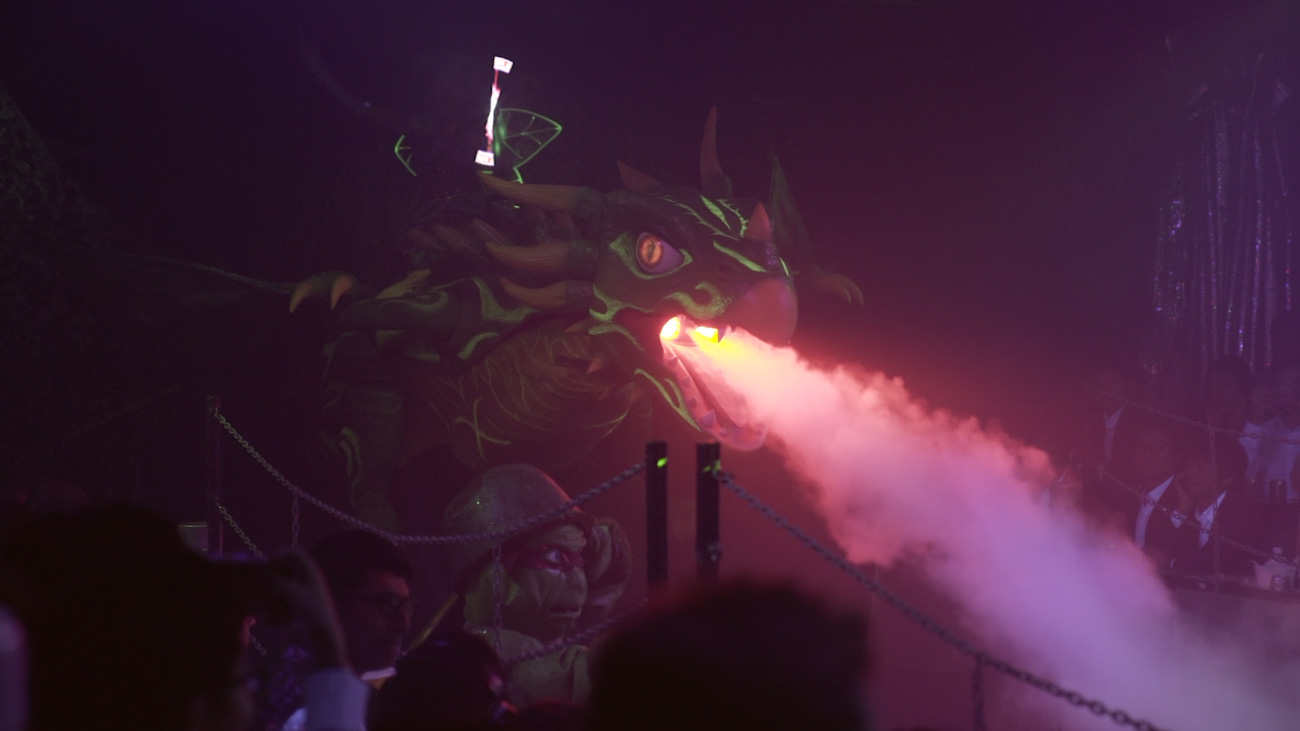
In this video and article, my goal is to specifically show you how well the Sony a7RIII performs in low light as a video camera and to provide some useful tips to help you capture better footage in low light situations with this camera.
Even though the footage in the cinematic video was shot at different times in Japan and Vancouver, all the video clips were shot under the same settings:
- All video clips were shot handheld and a gimbal wasn’t used.
- Everything was shot in either 4k 24 FPS or 1080p at 60 FPS.
- The lens I used was the Sony 24-70mm f/2.8 and it was shot wide open.
Why Trust Me

I’ve been a professional filmmaker and photographer since 2018 and have been lucky enough to work on projects all over the world with brands such as Alaska Airlines, Kayak.com, Prague Tourism, Visa, Airbnb, and many more.
If you’re curious to see the full list of companies we’ve worked with, just head over to our Work With Us page.
Most importantly, I’m just a message away. So, if you have any questions, just leave a comment below, email me at [email protected], or send me a DM on Instagram @tom.shu.
P.S. I answer every question that is sent 🙂
Sony a7RIII Low Light Performance

Even though the Sony a7RIII is an older camera now, it’s still an awesome camera for video.
This is especially true if you’re a run-and-gun type of shooter who creates both photography and video content.
On the video side, it can shoot pretty good quality video in both 1080p for slow motion and in 4k. It also has incredible battery life, it’s easy to customize, and consistently delivers on quality.
However, there are some obvious limitations, such as a lack of 4k in 60 FPS and its average 1080p video quality. The higher resolution 42-megapixel sensor also means more noise can be introduced when shooting at higher ISOs.
With that said, once you understand how to work within the limitations of the camera, it can easily capture beautiful 4k and 1080p footage in low-light. Plus, with its high-resolution sensor, it’s still one of the best cameras for serious photography work.
Here are the full video specs of the camera for both 4k and 1080p.
| Resolution | Frame Rates |
| UHD 4k (3840 x 1260) | 23.976, 25, 29.97 (60 to 100 Mb/s) |
| Full HD (1920 x 1080) | 23.976, 25, 29.97, 50, 59.94, 100, 119.88 (100 mb/s) |
5 Tips to Capture Better Low Light Footage with the Sony a7R III

If you already own this camera, here are my top 5 tips on how to best capture low-light footage with the Sony a7RIII given its limitations.
1. Use an ISO Under 5000
Try your best to keep the ISO less than or equal to ISO 5000. Even though this camera can shoot pretty decent footage at higher ISOs above 5000, I’ve found that once you get around this ISO level, noise starts to be introduced.
2. Use a Lens with a Faster Aperture
To get the best quality footage in either 4k or 1080p, you want to let in as much light as possible, especially in low-light conditions. Your best bet is to use a faster lens with an aperture of f/2.8 or faster.
This is especially important when you’re shooting in extremely low light as you don’t want to exceed ISO 5000 with this camera.
3. Prevent Light Flickers By Understanding the Light Frequency You’re Shooting In
The light frequency used around the world is different which can cause light flickers if you don’t use the right camera setting. Here in North America and a handful of other countries, they use 60 Hz, while most other countries like the UK, France, and many parts of Asia use 50 Hz.
There are even tricky countries like Japan where certain parts of the country will use 60 Hz while other areas use 50 Hz.
To prevent flickering lights in your footage, you need to synchronize your camera to the light frequency. The easiest way to do this is to change your camera between PAL (50 Hz) and NTSC (60 Hz).
However, not every camera can do this.
If you don’t have the option to change between PAL and NTSC, you can also manually set your frame rate and shutter speed to match.
Here are a couple of helpful tables created by Urban Video that summarize what frame rate and shutter speed combinations you can use depending on the light frequency you’re shooting in.
Shooting Under 60HZ Lighting in North America
| Your Frame Rate | Safe Shutter Speed | Safe Shutter Angle |
| 60p/60i | Any | Any |
| 30p | Any | Any |
| 24p | Any | Any |
| 50p/50i | 1/60, 1/120 | 300, 150 |
| 25p | 1/40, 1/60, 1/120 | 225, 150, 75 |
Shooting Under 50HZ Lighting (Most of Europe & Asia)
| Your Frame Rate | Safe Shutter Speed | Safe Shutter Angle |
| 60p/60i | 1/100 | 216 |
| 30p | 1/33.3, 1/50, 1/100 | 324, 216, 108 |
| 24p | 1/33.3, 1/50, 1/100 | 259.2, 172.8, 86.4 |
| 50p/50i | Any | Any |
| 25p | Any | Any |
4. Only Use 1080p if You Have to
The 4k video footage of the a7RIII is crisper and sharper than the 1080p footage. You can see this in the cinematic video by comparing the slow-motion clips (1080p 60 FPS) to the real-time video clips (4k 24 FPS).
Because of this, it’s best to use 1080p only if you want to capture slow-motion footage. For all other footage, I would recommend shooting in 4k.
5. You Still Might Need a Variable ND Filter
Keep in mind that depending on your environment, you still might need a variable ND filter even when you’re shooting at night.
For example, in the opening shot of the cinematic video at timestamp 2:12 of the video I was not using a variable ND filter. Because of how bright the city lights were, I had a difficult time keeping the lights from being over-exposed even when shooting in 60 FPS with a shutter speed of 1/120.
If I had wanted to shoot this scene in 4k without a variable ND filter, the only way I would have been able to was by using a narrower aperture (which I didn’t want to do).
Also, keep in mind that if you plan to shoot in S-Log2 (default PP7 picture profile), the minimum ISO on the Sony a7RIII is ISO 800. If you want to use a wider aperture at ISO 800, you’ll likely need a variable ND filter if you’re shooting under bright city lights at night