In this article, you will learn how to create an outline or multiple outlines around a subject or shape inside Photoshop. You will also learn how to convert a solid shape or a complex drawing like a cartoon character, into just its outlines.
These steps are really handy for creating posters, interesting elements for your video project or just for creating your own badges, icons or logos.
So let’s jump right in and start learning!
Add a Simple Outline Around a Subject in Photoshop
1. Open your image in Photoshop.

2. Press CTRL+J (CMD+J on Mac) to duplicate the layer.

3. Make a selection around the subject that you want to outline. On the latest version of Photoshop, you simply scroll down on the Properties panel and click on the button that says ‘Select Subject’. This is a one-click method that will quickly create a selection around any obvious subject in your image. This might not work on the image that you have or you might have an older version of Photoshop. In that case, you should select your subject manually using any of the selection tools such as the polygon or magnetic lasso tool.


4. Once you are done selecting your subject, you can refine your selection using the select and mask special workspace inside Photoshop. The button to access this workspace appears on the toolbar as soon as you make a selection using any tool. For a detailed guide on how to use this special workspace, check out my hair selection guide.

5. After you have finalized your selection to your satisfaction, make sure your working layer is selected and click on the layer mask icon at the bottom of the layers panel (rectangle with a circle inside it). This creates a layer mask out of your selection and cuts out the subject from the image and hides the rest of the image. You can double-check this by turning off the original layer and viewing only the masked layer. You can click on the ‘eye’ icon beside any layer to toggle its visibility.


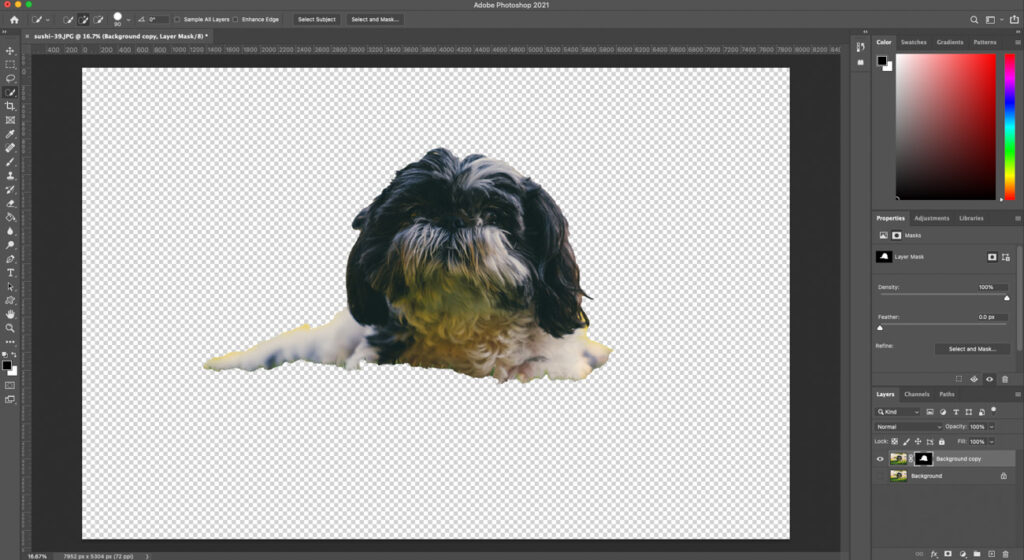
6. You can also create a layer mask from the select and mask special workspace by selecting ‘layer mask’ in the ‘output to’ drop-down menu that is found at the bottom of the panel.


7. Now double click on your masked layer to bring up the layer style panel. Here, check the ‘stroke’ option and tweak the color, size (thickness), and other options to taste.


8. Make sure the ‘position’ option is set to ‘outside’ so that the outline doesn’t eat into your image.

And you are done! Your subject is now surrounded by an outline that emphasizes them in the image. You can tweak the stroke size, color, and other options endlessly till you are satisfied.
Add Multiple Outlines to An Image Inside Photoshop
1. Go back to the layer style panel by double-clicking on your masked layer.

2. Click on the little plus icon beside the Stroke option to add another stroke layer to the layer style. You might not see any difference initially because the new stroke layer is an exact copy of the previous one and is hidden underneath it.

3. Change the color and the size of the new one to be different from the previous one. The size of the new one has to be larger or you have to make the previous stroke size smaller to see the new stroke layer that you have just added.


4. You can add progressively more strokes around your subject now by clicking on the + icon to add more and increasing the size and also changing the color each time.


Now you know how to create multiple outlines in Photoshop around any shape or image.
Make an Outline In Photoshop Around The Entire Image

To create an outline around the entire image, also known as a frame, you can simply double click on the layer you want to frame to bring up the layer style options (without making a selection first).
Now simply check the stroke option as described in the steps above. Go through tweaking the options to make it look just the way you want. Add more stroke layers if you want multiple frames around the image.
Just make sure that you have set the position option to ‘inside’ this time. Otherwise, the stroke will be hidden by the canvas and it won’t show up. This is a good way to frame an image using Photoshop using the specific color and thickness that you want.
Convert An Image Into Just The Outlines
1. To convert simple images like a cartoon character or a logo into just the outlines, such as what you would see in a coloring book, start by opening the image in Photoshop.

2. Now go to Image and select Grayscale by going to Image –> Mode –> Grayscale. It might ask for confirmation for discarding color information. Click on ‘Discard’.


3. Next, make a copy of the layer by pressing CTRL+J (CMD+J on Mac).

4. On the top layer, click on the blend mode drop-down menu and select the color dodge or linear dodge (add) option. You will see that the image now looks like a simple black and white (and gray) outline of its original self.


5. Now select both the layers and right-click. Select the ‘merge layers’ option on the menu that comes up. Now you have a flat image to work with.


6. Use the ‘background eraser’ tool to selectively delete parts of the image to make it transparent. Go around clicking on solid areas to make them disappear.

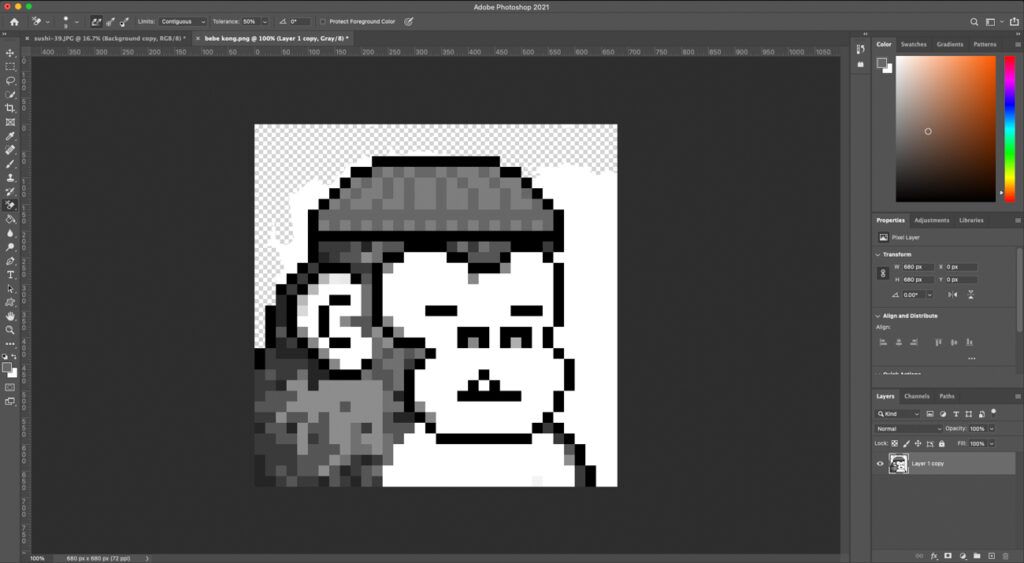
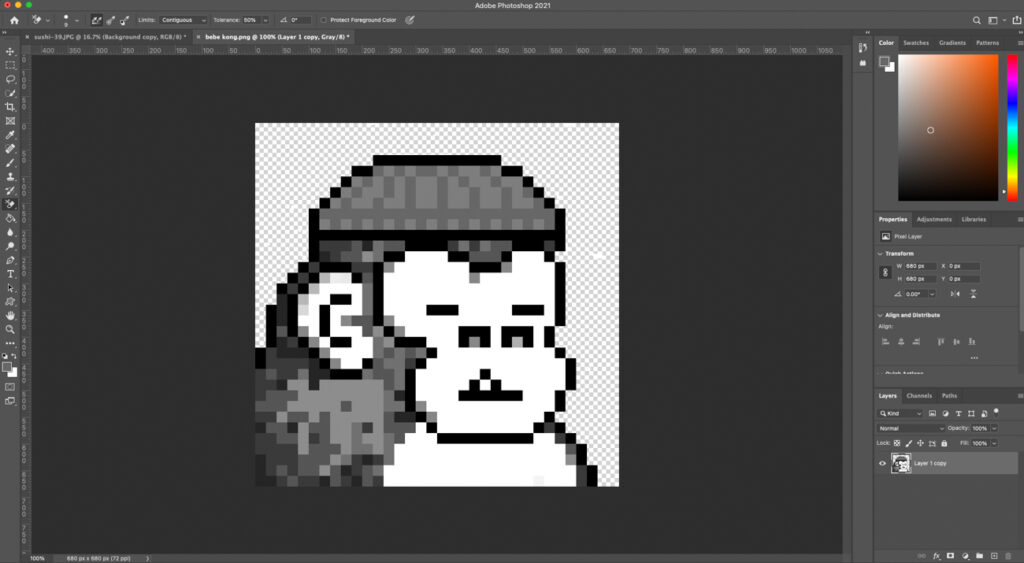
7. If you are working on an image with shading and gradients, it is best to use the levels tool (CTRL+L or CMD+L on Mac) to make the lines and areas solid and high in contrast before erasing.
This process only works with images that already have an outline. To turn a solid shape into an outline, follow the steps below.
Convert a Solid Shape Into Its Outline
1. Open the shape image in Photoshop.

2. Doubleclick on the layer to change it into a layer that can be edited.

3. Use the selection tool to cut out the shape that you want to convert. Alternatively, if it is on a simple solid color background, use the background eraser tool to clear out the background completely.

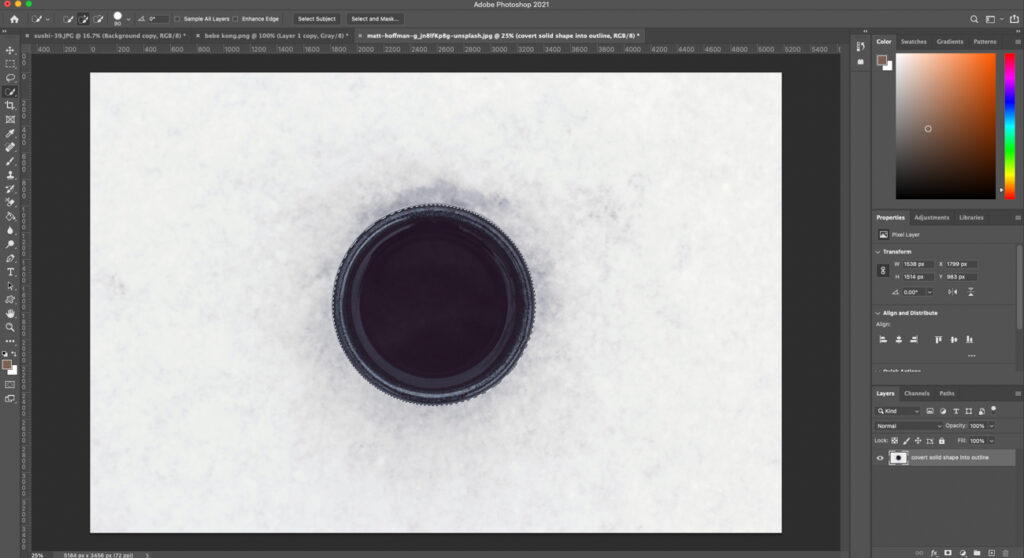
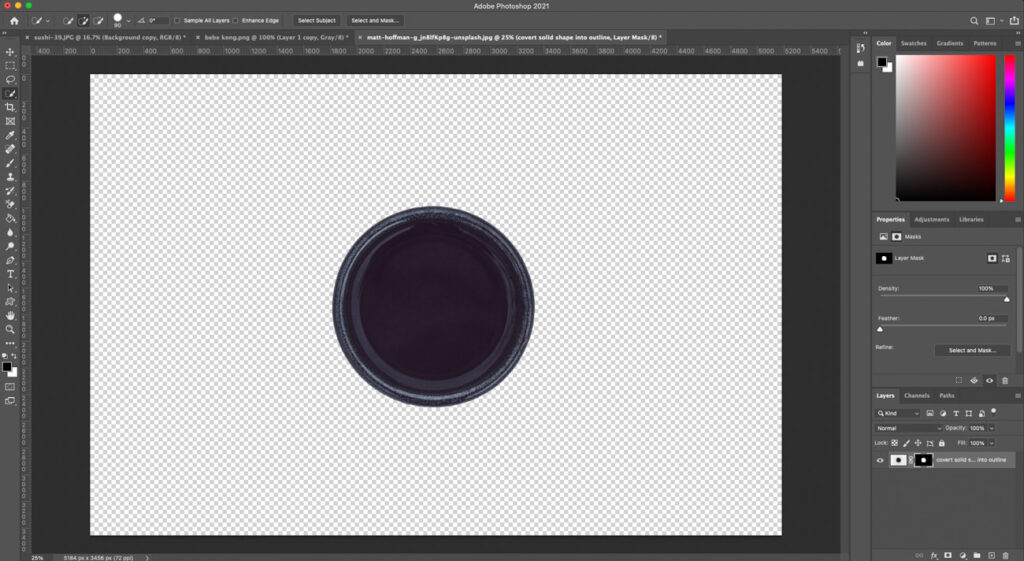
4. Now double click on the layer to bring up the layer style panel.
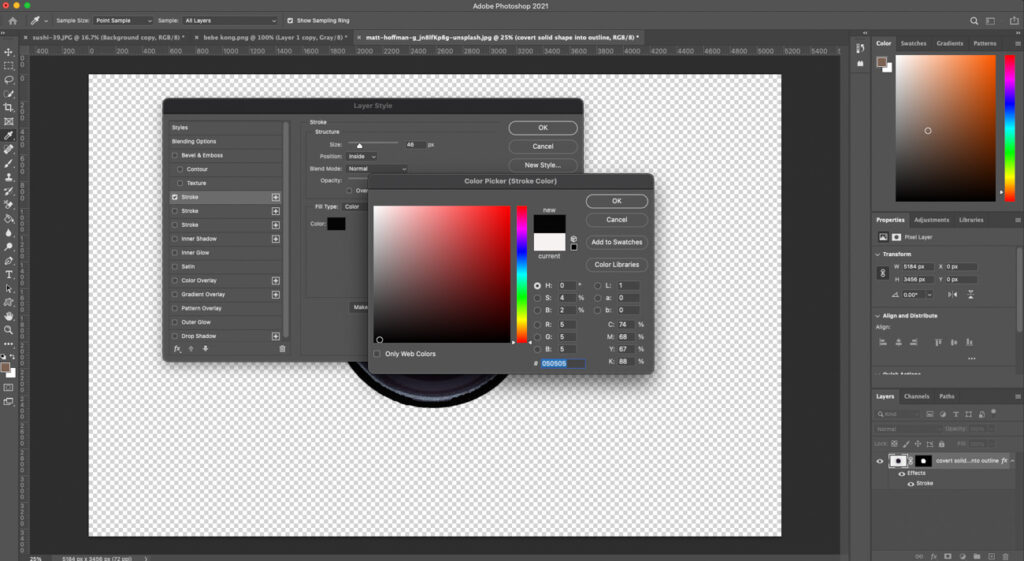
5. Check the stroke option and set the position to ‘inside’ to create an outline around the inside of the shape. Change the color of the stroke to black or white as applicable to achieve maximum contrast with the image.

6. Click OK to apply the stroke effect.
7. Now right-click on your layer and click the ‘Rasterize Layer Style’ option.

8. Next, use the background eraser tool again to erase the color from inside the outline. This will give you a transparent image with just the outline.


9. Alternatively, use the levels tool by pressing CTRL+L (CMD+L on Mac) to change the colors into high contrast black and white. You can also use the ‘Grayscale’ mode option first and then change the levels.
10. You can now go ahead place a new background or leave it as it is.
Conclusion
So there you have it. A super-easy way to change any solid shape into its outline. Remember that this technique works best with simple shapes. You can also apply this to complex shapes by creating a proper cutout first using the select and mask workflow.
I hope I was able to answer all the questions you have regarding creating outlines in Photoshop.
If you still have questions or need more help, don’t hesitate to leave a comment below or reach out to me on Instagram. I answer all the comments and messages I get and I promise to try my best to help you out.

