In this tutorial, you will learn how to select all of one color inside Photoshop. You can then remove it completely or manipulate it however you wish.
This technique is important for common compositing projects like replacing a flat sky with a beautifully detailed one. This can also come in handy when you are trying to get rid of a flat background such as a chroma screen (green/blue screen often used in cinema for VFX) or even just a wall. You can even use it to cut out logos and shapes from a single color background.
So now that you know why it is important, let’s jump in and learn how to select and edit all of one color in Photoshop.
Selecting All of One Color Using The Color Range Tool
1. Open your image inside Photoshop and unlock the layer by double-clicking on it. A dialogue box will appear, click OK. This makes your image ready to be edited as a normal layer inside Photoshop. If your image is a PNG, it may already be a layer when you import it so you don’t have to take the additional step to unlock.
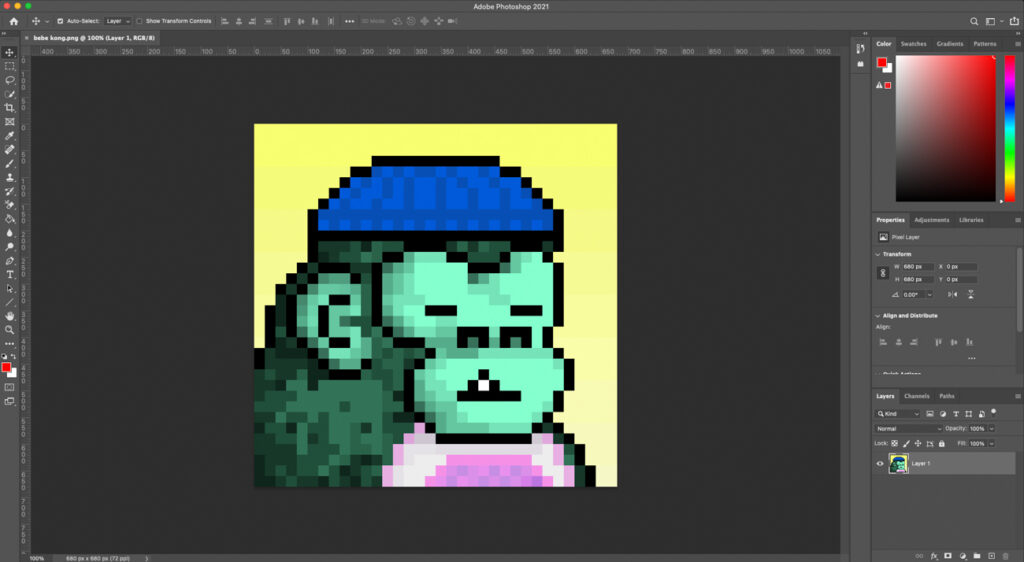
2. Go to Select > Color Range in the menu bar. A dialogue box appears and your mouse pointer changes to an eye-dropper tool.

3. Use this tool to click on the color that you want to remove. A preview appears in black and white on the dialogue box preview window.

4. The areas showing up in white are the areas that are being selected. These areas have the color that you have specified with the eyedropper tool. The portions showing up in black are being ignored.
5. Use the fuzziness slider to tweak the edges and make them smoother or sharper as required.


9. There are two checkboxes at the top of the dialogue box – localized color clusters and detect faces. The latter only becomes available when the former is activated.

- This option allows you to refine your selection to areas where the selected color blends into other shades to form clusters. If you want the localized clusters to be selected with greater accuracy, check this box.
- The detect faces option controls the selection of color clusters on a human face. This is useful for fashion and portraiture where the color being selected may also be present on the subject’s face. Think of white highlights on a face when trying to remove a white background around the person. If you don’t want the face to be selected but you want the localized clusters to be selected, leave this check box unticked.
6. Click the Localized Color Clusters option to use the range slider to widen or narrow the area within which the selection is being made. This range is like a big circle and it is centered on the point where you have clicked on the image. When you push the slide up, it widens the circle, and eventually, it will include the whole image. This is good if you want to get rid of the color throughout the image. If you want to remove just a small portion of it (or several small areas by repeating this technique), bring the slider down till the white area is only around the part that you want to be selected.
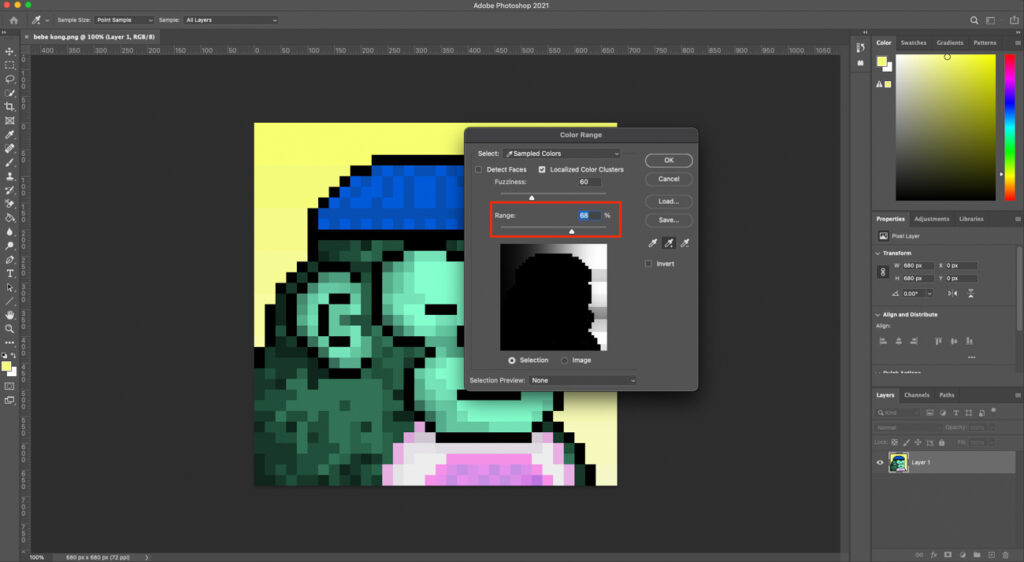
7. There are 3 eye-dropper options – normal, add and subtract.

- Normal is what you get by default. This will select whatever color you click on. If you click on a different color, the selection will simply be replaced.
- The Add tool has a little + icon on it. This will add any color that you click on. So for example, if you want to remove the yellow and the red from the image in one go, choose this tool and then click on both yellow and red one after another. The resulting selection will cover both colors instead of choosing the last color selected. Ou can keep adding shades to till you are satisfied.
- The Subtract tool has a little – icon on it. This tool will subtract any color you click on from the selection you have made. This is useful for finetuning the selection by clicking on shades that you want to leave out.
- Holding down shift while using the normal eyedropper tool will select the whole range of colors between clicks. This means if you click on white followed by blue, it will select the two colors and everything in between. Try it out to get a clear idea of how this works. It is easy to understand once you do it.
8. If you want to see the selection reflected in your actual image, there is a drop-down menu at the bottom of the dialogue box called ‘Selection Preview’. Here you can choose various modes to view how your selection is looking on the actual image. The quick mask is the one that I prefer but it also depends on the image I am working on.

10. On the top of the dialogue box, you will find a drop-down menu that allows you to directly select primaries and secondaries like Red, Yellow, Blue, Green, etc. without using the eyedropper tool. This menu also has options for selecting Highlights, Midtones, and Shadows; plus skin tones.
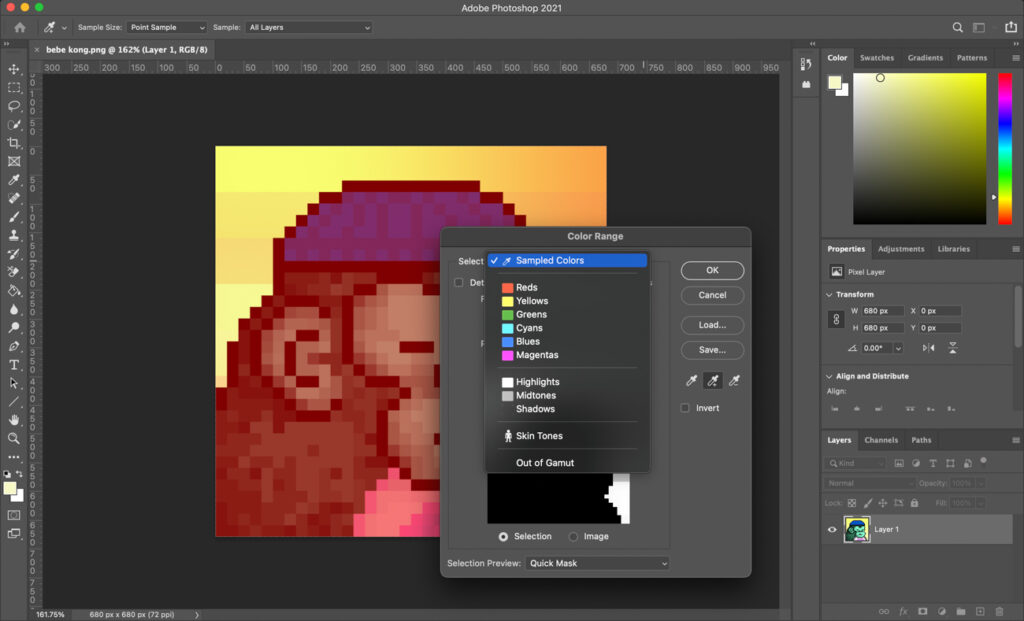

- When the skin tones option is selected, the detect faces checkbox becomes available and the localized clusters option becomes unavailable. This is because it is assumed that you are focusing on a human subject, usually the face.
11. Finally, once your selection is complete, hit ok. You will now see marching ants around your selection

Using the Selection
1. The selection that you get can then simply be deleted to remove all of one or more colors from your image.
2. If you want to refine your selection even further, select any of the selection tools while the image layer you are working on is selected and the selection you made with the color range tool is active. This will bring up the selection toolbar where you can click on the Select and Mask button. Alternatively, you can press ALT+CTRL+R (Option+CTRL+R on Mac) with the selection active the correct layer selected. This will bring up a special workspace where you can refine the selection further. Have a look at my hair selection tutorial to know how to take full advantage of this special workspace.

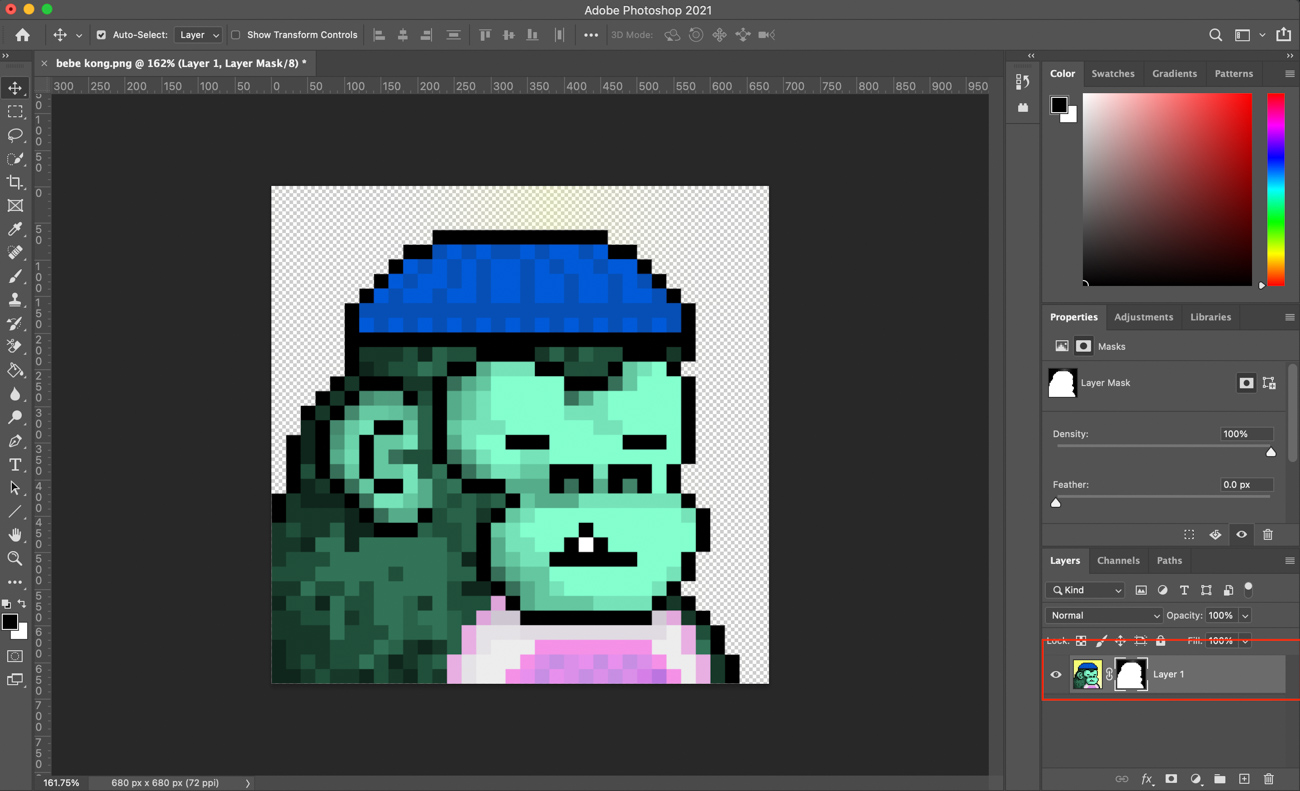
3. You can also choose to create a layer mask to hide the selected area. This can also be done after you have refined the selection using the step above, directly from the Select and Mask workspace.

Tips for Best Results
1. If you want clean, sharp edges, make sure that the color you want to remove is even and clearly outlined. You might have to create a copy of your image in another layer and work with the Levels and hue/Saturation tools to flatten the color and improve the contrast. This will result in a cleaner selection. Then you can simply click on the actual image layer with the selection still active.
2. For logos or shapes with flat colors and clean sharp edges, try out the background eraser tool. Click on the color you want to remove and drag the eraser around. Adjust the strength, hardness, and size to suit your needs.

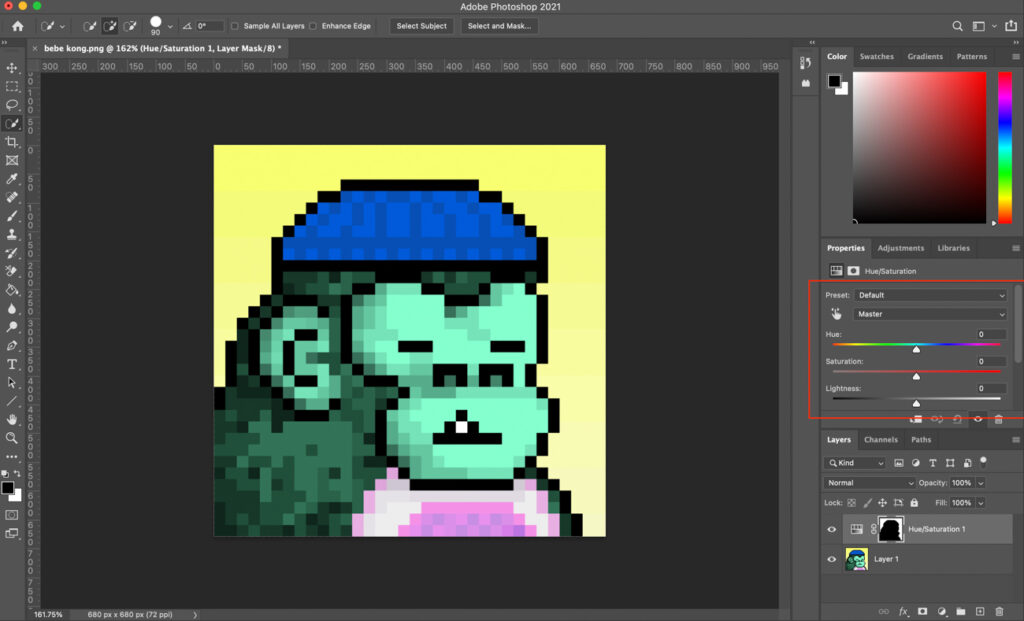
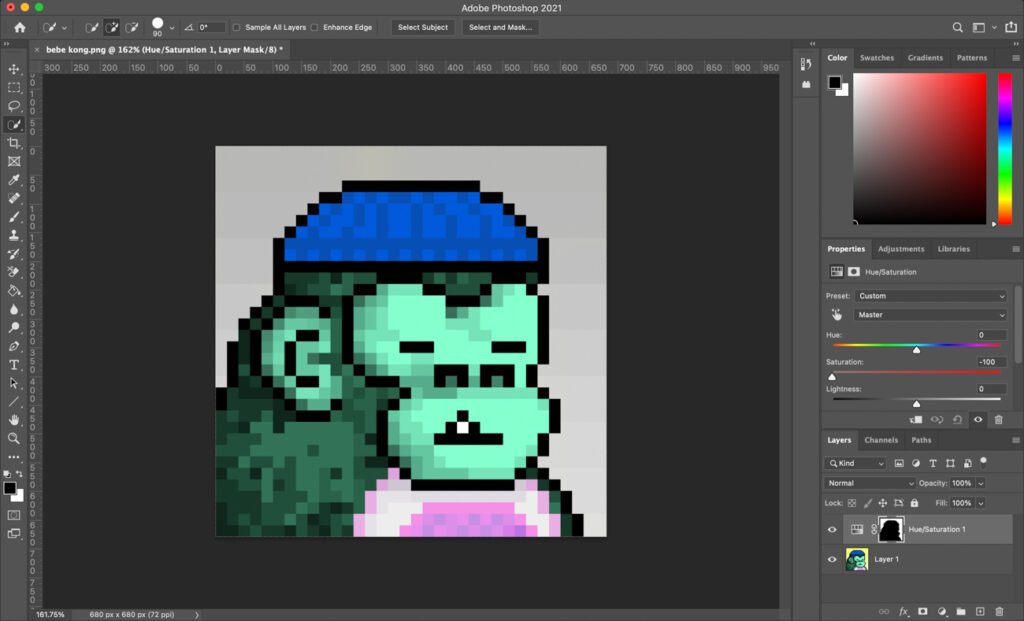
3. To change one color to another or completely desaturate (turn to black and white) all colors except one, use the Hue/Saturation tool (CTRL+H). Within this tool, you can select the tones you want to work on (Reds, Greens, Yellows, Blues, etc.) and change them to a different hue (color) or desaturate them entirely using the saturation slider. Imagine a yellow taxi image where only the yellow of the taxi is in color and all else in black and white. You can do this with a combination of clever masking and desaturation as explained above.

Conclusion
I hope this tutorial has answered your questions about using Photoshop to select and remove all of one color.
If you have any more questions or want to request a tutorial, drop me a comment below or get in touch with me directly via Instagram.
I always respond to all of my messages and I will try to help you out as best as I can!

This guide is great and easy to understand. Thank you!