

Long exposure ocean photography creates photographs that make the huge ocean look still and calm.
This powerful imagery is understandably popular amongst photographers. It can seem tricky at the beginning but with some learning and a lot of practice, you can create images that rival the best out there.
I have been shooting professionally for a few years now and I always take the opportunity to shoot the ocean. It can be a challenging subject but a little perseverance will produce beautiful images that you can be proud of.
I will cover various aspects of the entire process to prepare you for this adventure and we will be looking at:
- The Planning process
- Taking the weather and daylight conditions into account
- The essential gear to take
- Camera settings and how they affect the frame
- Composition tips to get the best out of your scene
So let’s jump right in and learn about shooting long exposures by the ocean.
1. Plan for Success

Always arrive early at your location even if you have been there before. Use this time to scout and find the perfect scene. If you have never been to the location before, consider taking an extra day out just for scouting.
Use an app like PhotoPills to plan your shoot based on sunrise/sunset timings and local weather conditions. Golden hour and Blue hour periods are the best times to shoot near the sea.
Carry extra lens cloth and cleaning sprays. Also, carry a few microfiber towels. The saltwater sprays fill the air with salt and sand and these will settle on your lens and camera body as you shoot.
Wear weather-appropriate clothing and take precautions if the weather is bad. Avoid extreme weather near the sea.
2. Get a Good Tripod
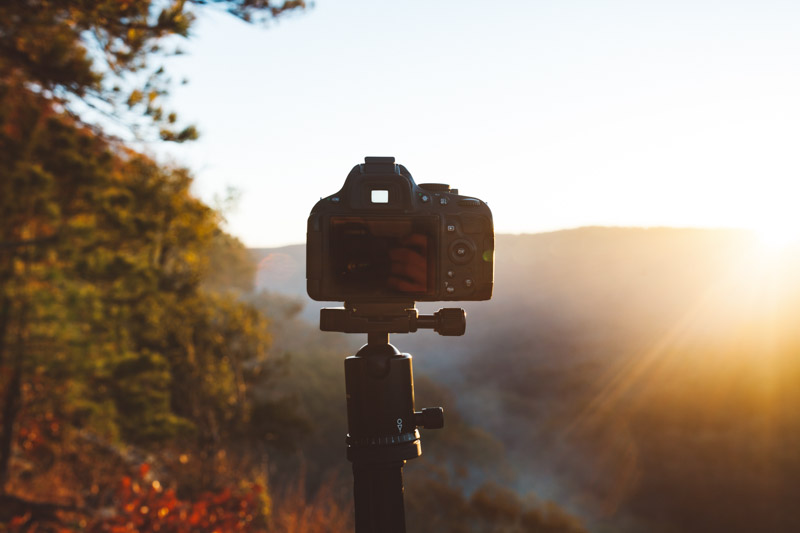
A sturdy tripod is mandatory when shooting long exposures.
If your tripod is wobbling, try adding weight to it by hanging a bag full of sand or rocks from it.
If you are shooting right by the water, dig your tripod legs into the sand to prevent it from moving when the waves pull away the sand underneath. Use a ball head for the greatest flexibility of framing.
3. Use a Remote Shutter
Use a release cable or wireless shutter release to avoid touching the camera.
This may look like a little detail but it creates a noticeable difference. You might accidentally nudge the camera when trying to press the shutter button, creating a shaky image.
In case you don’t have one on hand, use a delay timer so that you can move away before the camera starts to shoot.
4. Invest in ND Filters

ND filters are your best friends when shooting long exposures.
They allow you to slow down your shutter even if you are shooting in broad daylight. Combine them with graduated filters to darken a bright sky and match it to the ground below it.
Good filter glass are expensive but worth the investment if you are serious about shooting any type of long exposures professionally.
There are ND calculator apps for both iPhone and Android that can calculate the required exposure time after adding your filters.
Here are three of my favorites and they are all free!
- ND Filter Expert (Android)
- Long Exposure Calculator (iOS)
- Lee Filters Stopper Exposure (iOS and Android)
5. Learn to Control Your Aperture

Use your aperture to get everything in sharp focus by increasing your depth of field. Most lenses will yield good results at around f/8 to f/12.
Get used to full manual control of your lens so that you can adjust your settings according to the scene in front of you.
It might be tempting to stop it down to increase your exposure durations but resist this urge. Extremely narrow apertures create refraction which takes away from the sharpness of your image.
6. Use a Variety of Different Shutter Speeds

Long exposure is a creative method and everyone eventually finds the range of shutter speed settings that suits their taste.
So the best advice I can give is that you start from around 0.5 seconds and go up from there. With shutter speeds of 1-2 seconds, you will get beautiful trails left by retreating waves and see the texture of the water.
As you increase the duration and start to approach the 1-minute mark, everything starts to smoothen out. The sprays will create a misty effect around objects like rocks. A turbulent sea will look foggy and milky white. The sea will start to look still and calm.
Try various settings and see what look works best for you. As for the ISO, keep it as low as possible on your camera, which should be easy to do considering it’s a long exposure.
7. Shoot the Same Location at High Tide and Low Tide

Find out the timings for high tide and low tide.
Your location will look completely different based on it being high tide or low tide and this can make drastically different photos. The tides change twice a day and the high tides are about 12 hours apart.
Scout the area during high as well as low tide and decide which look you like best or if you can, go during both times.
8. Use Different Compositional Techniques
Rule of Thirds

Use the rule of thirds to line up the main elements of your composition. This will immediately make any composition look better. The horizontal lines are good guides for placing the horizon on. Read my post on the Rule of Thirds to learn how to use it.
Leading Lines

Use rocks, piers, and other elements within your scene to create leading lines. Depending on your shutter speed, the water and clouds might also create leading lines that guide attention into the frame.
9. Find and Use Movement Creatively
Look for rocks, funnels, gullies, and any natural zones of movement where the water is flowing through. Using these elements in your composition will create a greater sense of dynamic movement and shapes in your image. This is another reason for going to your location early and scouting for the perfect spot.
Use Clouds

Look at the clouds and make a note of the direction in which they are moving. Cloud movement starts to show up properly on exposures of around 10 seconds and above.
Even 2-3 second exposures will give you a sense of motion if they are moving fast enough. Clouds coming towards the camera while the water retreats away from it, together create one of the most dynamic frames in this genre.
Timing the Waves

Time your shots so that the exposure begins as a wave is about to retreat. This works best for shorter exposure times of around 1-2 seconds. The retreating water will create beautiful lines, swirls and smears that will add a sense of movement to the photo.
10. Shoot at Different Times of the Day

The two most popular looks for long exposure ocean photography are colourful sunset/sunrise moments and mysterious twilight/blue hour moments. So you can decide to go extra early when shooting sunrise or stay back late after sunset. Shoot through the different times of the day and see how the same scene feels completely different at different times.
Pro Tip: Make Sure to Adjust for Fast Changing Light
Sunset and sunrise are periods of fast-changing light. This is something that you have to take into consideration when deciding on your long exposure durations. If you are using an app, compensate by shortening the recommended exposure during sunrise and extending it during sunset.
11. Use Your Histogram
Balance your exposure to get your histogram peaking to the right. This way you will be able to pull up the shadows without introducing noise in your image. Look at your camera manual to find out how to display the histogram on the screen when shooting and reviewing.
12. Try the Panning Motion Blur Technique

Try out the panning motion blur technique.
For this, you will need a panning head on your tripod.
Use a longer lens like 70-200 and pick a frame that is unobstructed on both sides. Set a shutter speed somewhere between 1/10-1/2 while panning from one side to another. Try panning with the direction in which the waves are breaking. This technique will yield beautiful painterly frames when done right. It takes some practice but the unique results are worth it. Use a remote shutter release for best results.
Summary

Long exposure ocean photography is a style of photography that combines the grandeur of the ocean with the tranquillity of still water. Done right it can add stunning images to your portfolio.
You might even want to specialise in this style of photography. I hope this post has given you all the necessary tools to fully prepare you for your next seaside adventure.
Do you have questions?
Post a comment here or send me a message on Instagram and I will try my best to answer them fully.