In this article, you will learn how to stretch an image in photoshop without distortion or pixelation. You will also learn how to resize a selection in photoshop. This basic technique is useful for a wide variety of uses, whether just for resizing a single image, a series of images through automation, or a layer or selection within a project.
Things to remember before you start:
- Your image is a layer on the ‘canvas’ inside photoshop. The canvas, as the name suggests, is the background on which your image is displayed.
- When resizing the image layer individually, it might go beyond the canvas. This will crop the image.
- To stretch the image and canvas simultaneously, use the Image Size command.
- To stretch the canvas separately, use the Canvas Size command.
- If your image doesn’t touch the edges of the canvas, it will create a frame around the image that represents the empty space on the canvas not covered by the image.
- Be mindful of the ratio between your image height and width. This is called the aspect ratio. If you change this ratio without intending to, the image might end up looking stretched or squeezed. To change the aspect ratio without affecting the look of the image, you should crop the image before or after resizing. Check out my cropping guide to learn how to crop individual layers in Photoshop.
- Any resizing/stretching of an image beyond its original resolution will result in loss of quality. Photoshop is ‘guessing’ when it increases the size of the image and it can not recreate the missing pixel information. So your image will look okay but not sharp like an actual high-resolution image.
Now let’s learn how to easily resize any image inside Photoshop.
Stretch Using the Image Size Command
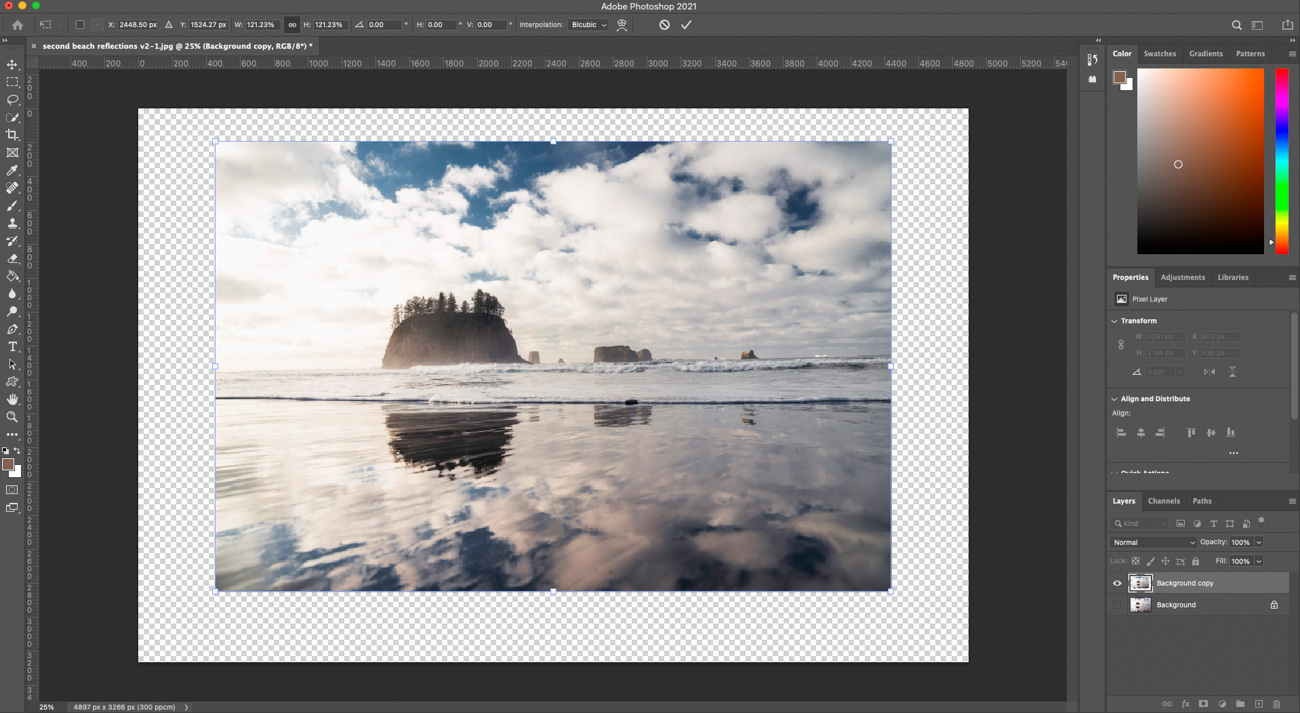
1. Open Photoshop and go to File > Open to open your image.
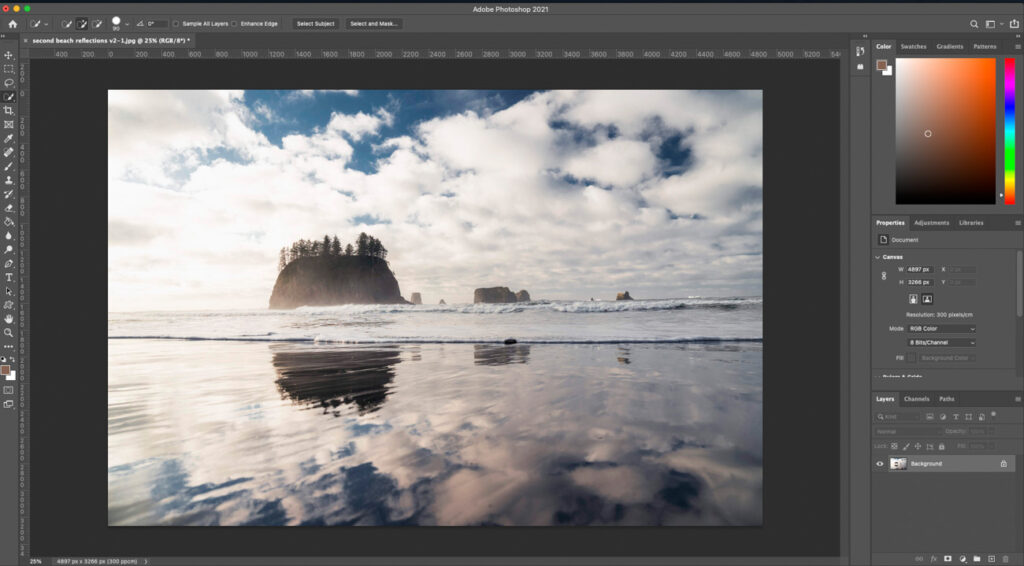
2. After opening the image, go to Image > Image Size or press ALT+CTRL+I (Option+CTROL+I on Mac).


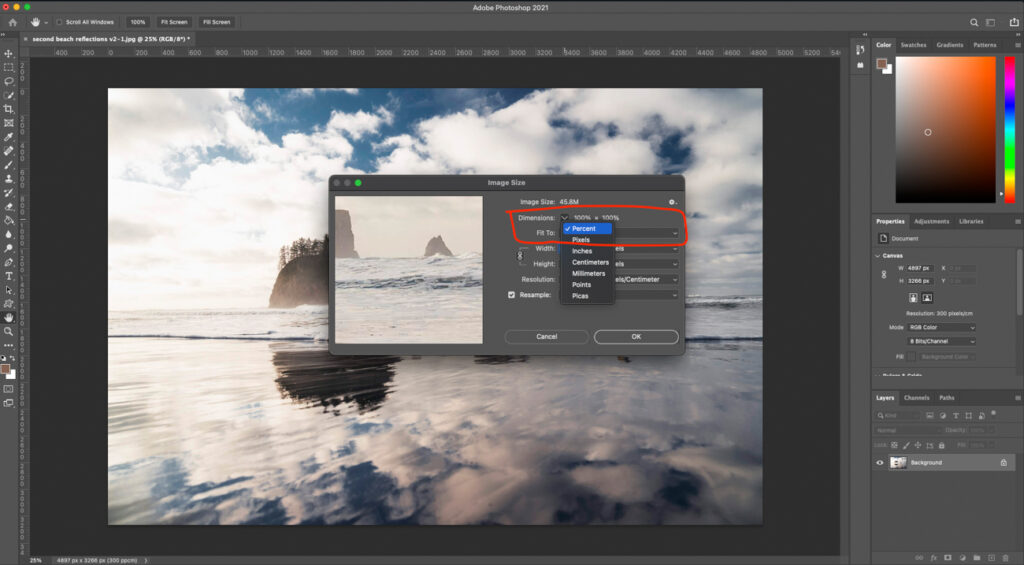
3. A dialogue box will open with options for resizing your image. Choose your preferred unit (centimeter, pixel, inches, etc.) next to the height and width fields.
4. If you want to increase by a certain percentage, choose the Percent option from the drop-down menu. Then add the amount to 100. So if you want to increase the image size by 25%, type in 125.

5. There is a chain-link icon between the width and height options. This is the ratio lock. When this is engaged, entering a value into one field will automatically adjust the value in the other one. For example – if your original image is 100×100 pixels, entering 150 into the height field will automatically change the width field to 150 to match the aspect ratio.
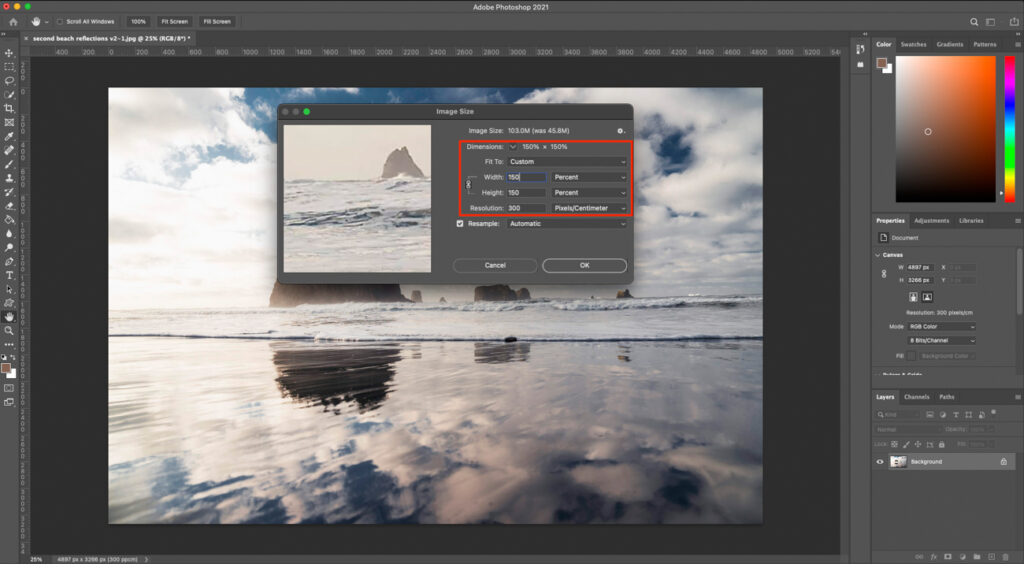
6. If this lock is disengaged, it will stretch or squeeze the image without adjusting for aspect ratio. In the example, if we disengage the aspect ratio lock, and enter 150 into the height field, only the height will be increased and the width will remain the same. This will stretch the image and distort it.

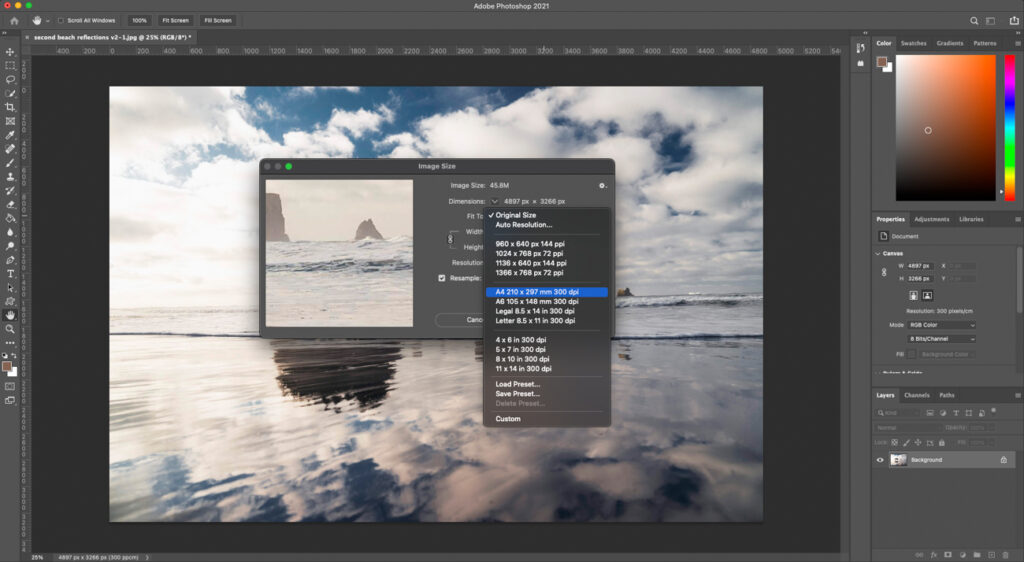
7. You can also use any of the preset sizes from the ‘Fit To’ drop-down menu. It has common web and print sizes.
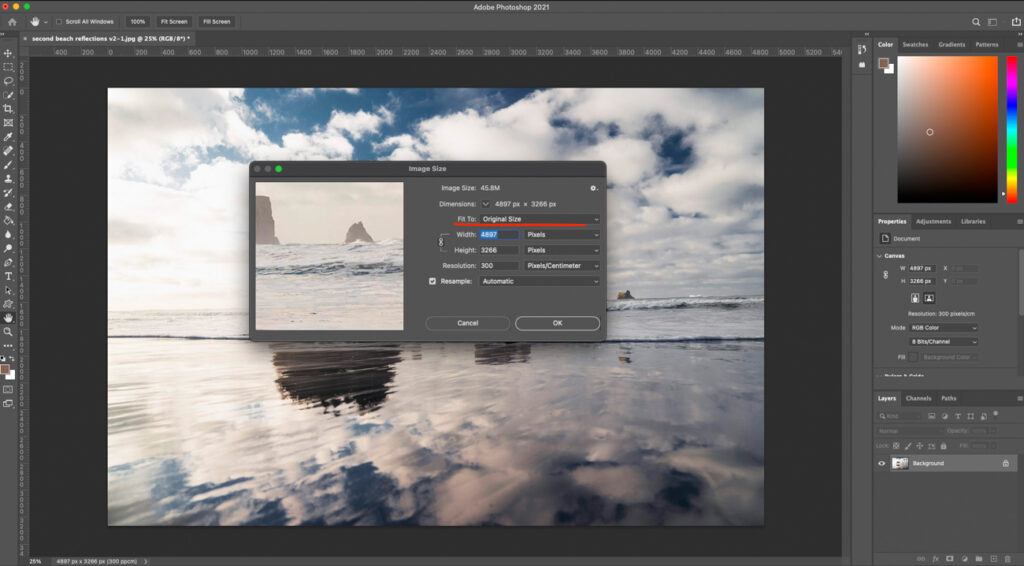
8. The resolution option is used to specify the ‘pixel density’ of the image, measured in ppi (pixels per inch). You will need this option if you are trying to match the image to a screen with a specific ppi such as Apple retina displays. So if you want to get a 6×8 inch image on a 198ppi display, set the height and width and then set the resolution to 198. There is also the option to specify the resolution in pixels per centimeter.

9. If needed, you can even specify your resampling type. If you turn ‘Resample’ off, you cannot change the resolution freely. It will be locked in with the height and width.

10. Press okay and you are done! Your canvas size will automatically change to fit the new image size.

This is by far the fastest and easiest way to stretch or resize an image in Photoshop. If you want to resize an image inside a multilayer project or just want to resize an image manually inside the canvas, you can use the transform control tool.
Using Transform Control To Resize and Stretch An Image Inside Photoshop
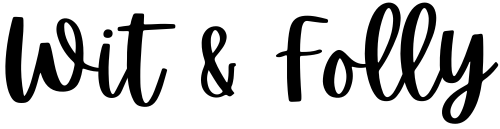
1. Select the layer of the image you want to resize. Press CTRL+T (CMD+T on Mac).

2. A bounding box appears around the image, marked by six anchor points or handles that you can click and drag to resize the image.
3. If you want to maintain the image’s aspect ratio while resizing, hold down shift as your drag. To resize freely, simply click and drag.

4. To resize around the center point of the image, hold down ALT while dragging.
5. You can use SHIFT and ALT together to resize the image around its center while also maintaining the aspect ratio.
6. To skew the image, drag any anchor point while holding down CTRL (CMD on Mac). This is useful when trying to stretch the image into a 3D perspective such as the side of a building seen at an angle.

7. When you are done stretching or resizing, press ENTER. This will commit the changes you have made.
8. You can also use this to resize a selection in Photoshop. Just press the CTRL+T (CMD+T on Mac) shortcut after making a selection and proceed as described above.
Optional: Change Canvas Size
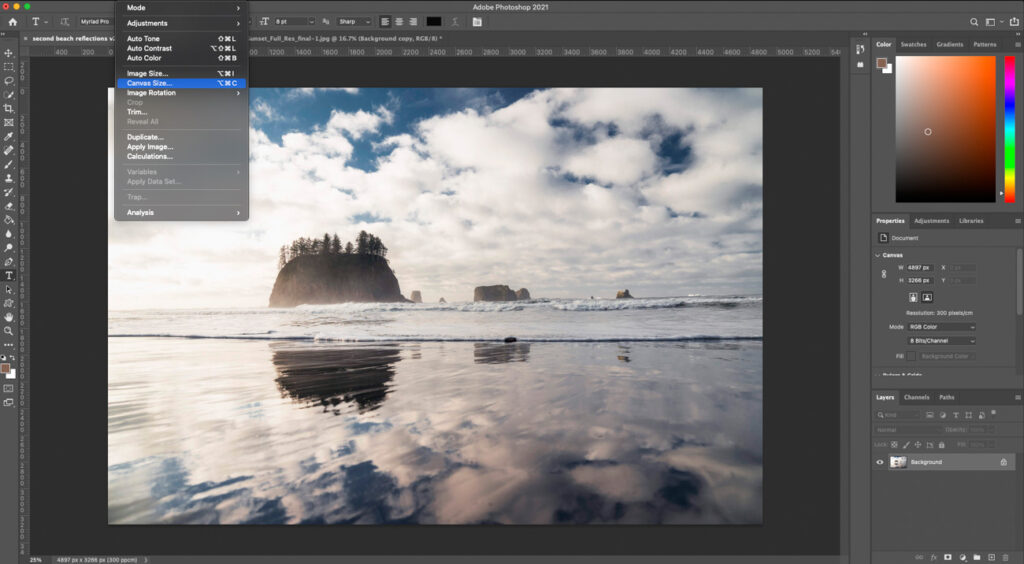
1. Go to Image > Canvas Size or press CTRL+ALT+C (CMD+ALT+C on Mac).
2. A dialogue box appears with width and height options. You choose any unit you prefer using the drop-down menus beside these two fields.


3. You can also choose to make the values absolute or relative by checking or unchecking the checkbox below the height and width fields that is marked ‘Relative’.

4. When the Relative box is unchecked, whatever value you enter into the box will be the absolute value of the canvas. If your canvas was 4897×3266 pixels and you enter 200×200 pixels as the new value, your canvas will be reduced to 200×200, which will crop into your image.
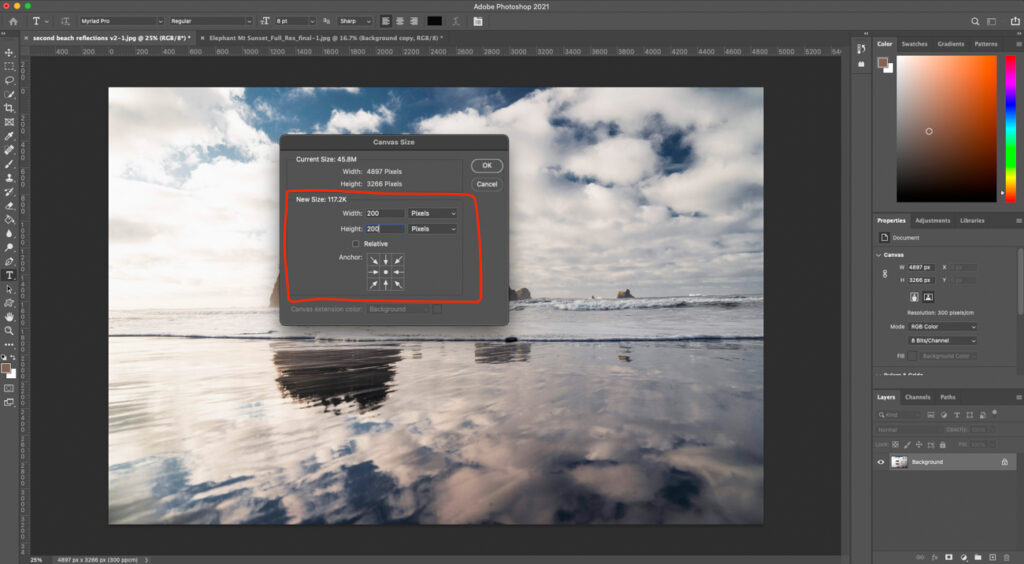
5. If you check the Relative option, the values will be added to your existing size. So in the previous example, if you enter 200×200 pixels as the new value, the resulting canvas will be 5097×2400 pixels.

6. There is no aspect ratio lock here, so you will have to specify each dimension separately.
7. There is an anchor point option to choose how and in which direction your canvas is changed. If you want a little extra on one side only, click on the position corresponding to that side.
Amazing your Easiest Method for image in Photoshop
Thanks so much, glad you found it helpful!